Create a New Workspace in Kong Manager
-
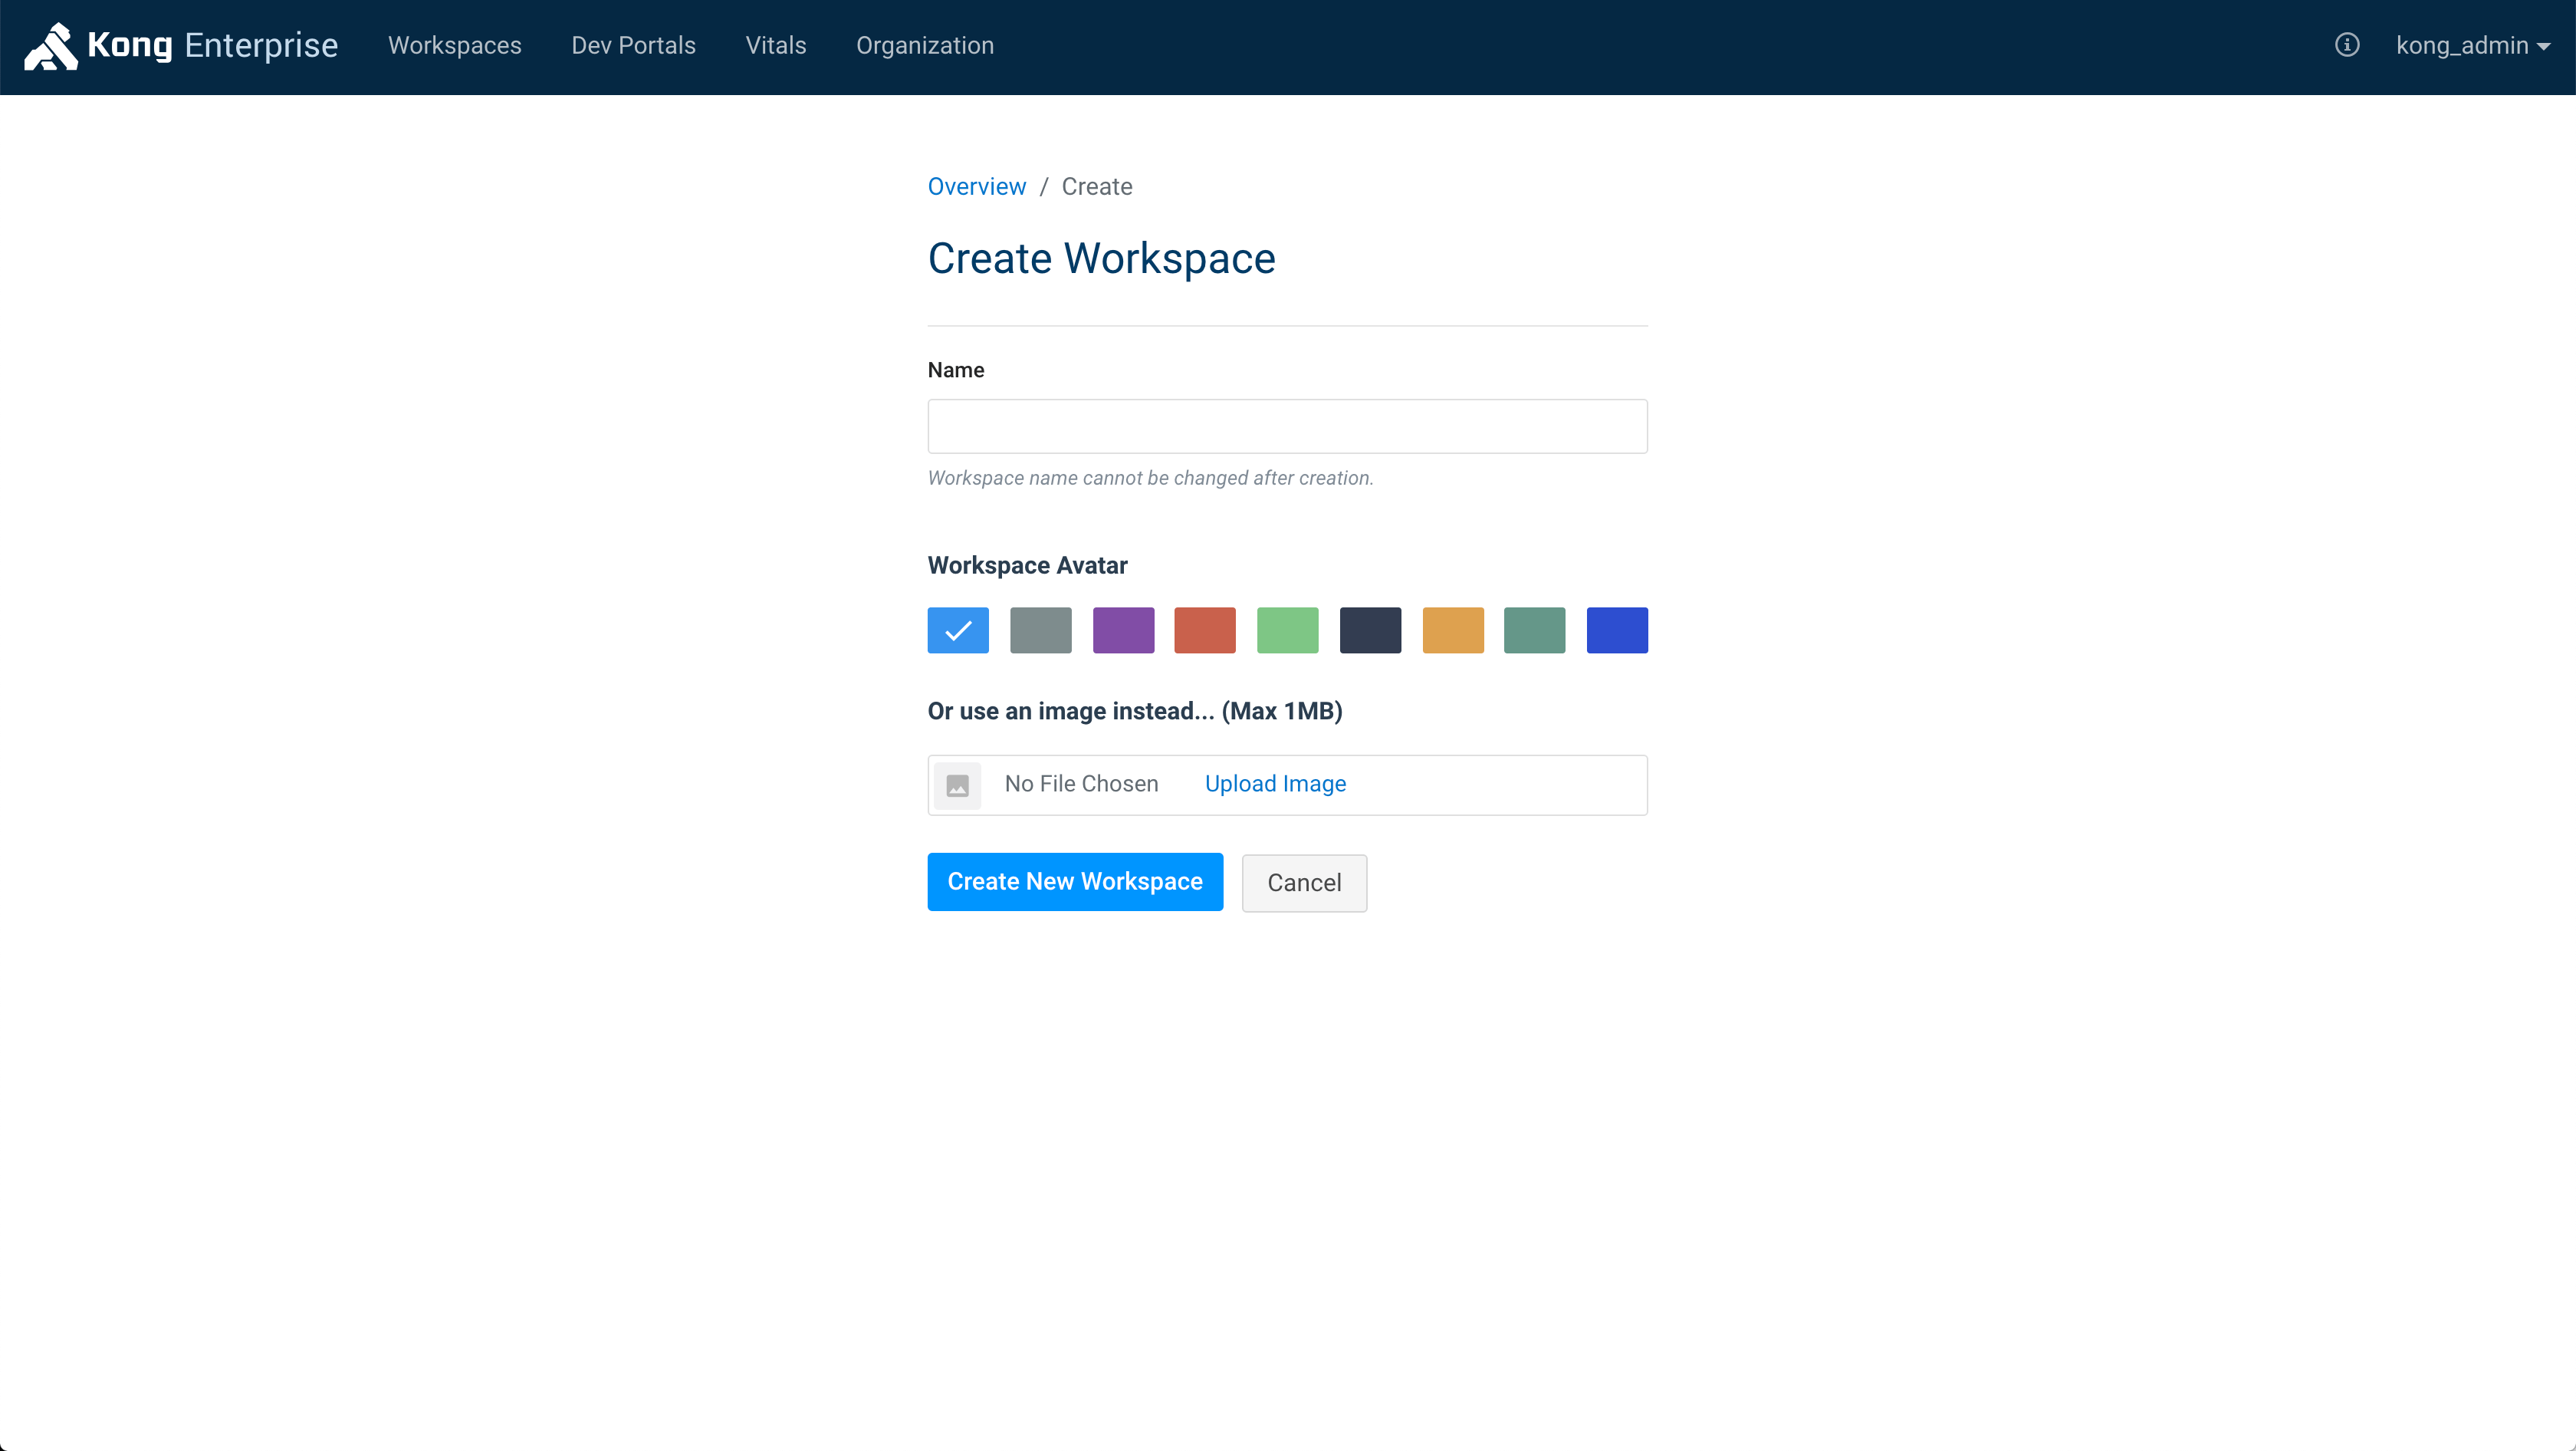
Log in as the Super Admin. On the Workspaces page, click the New Workspace button at the top right to see the Create Workspace form.
-
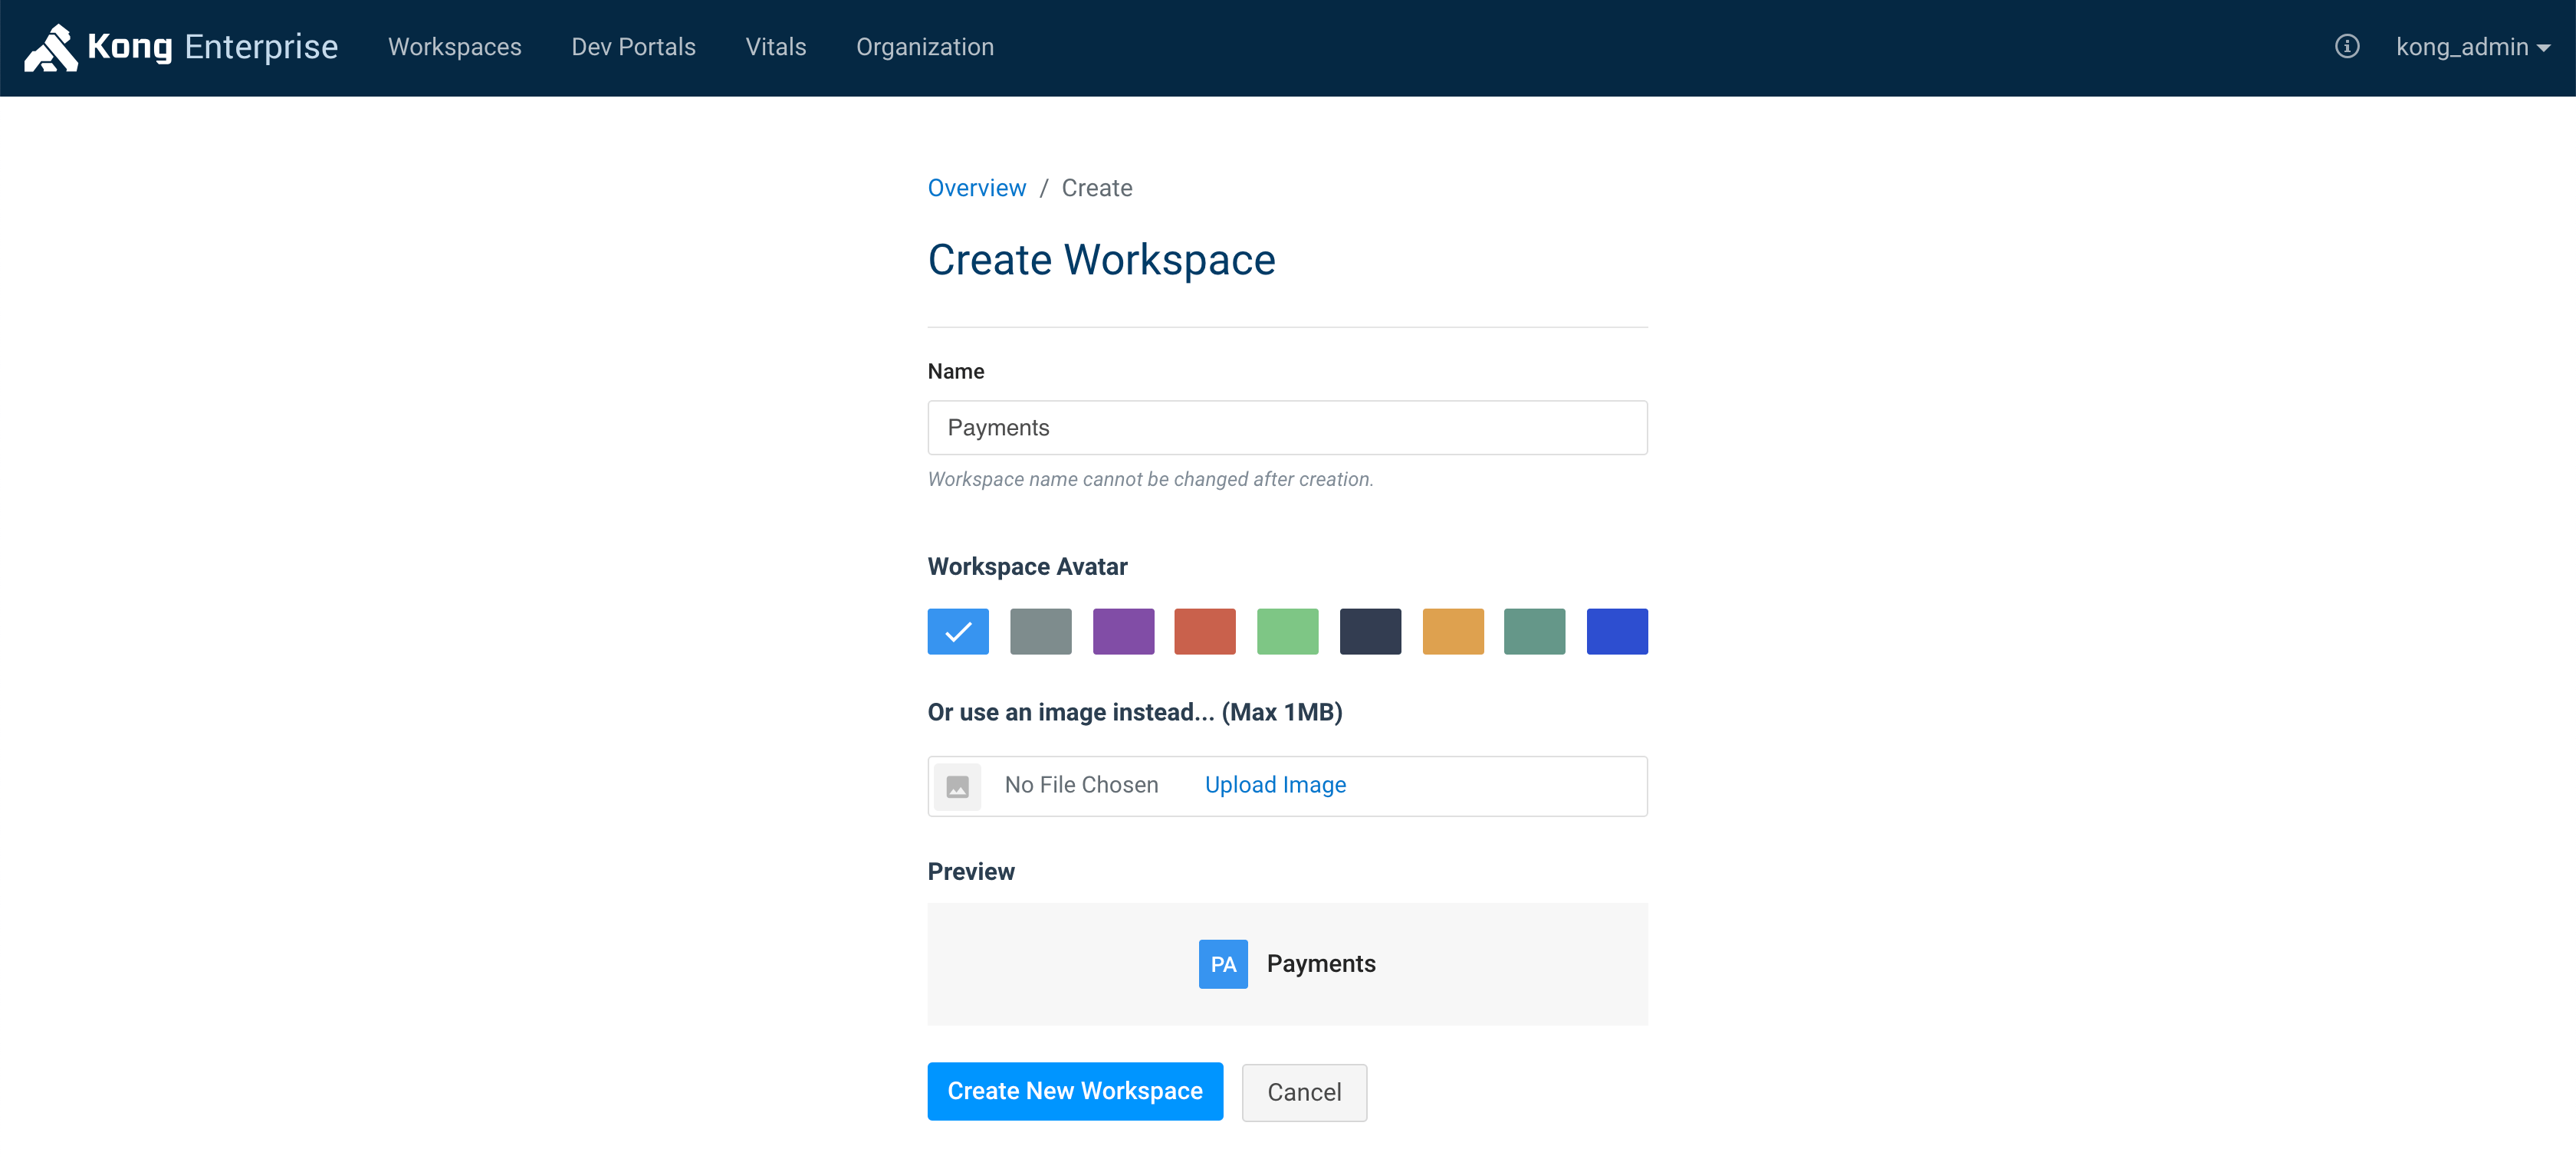
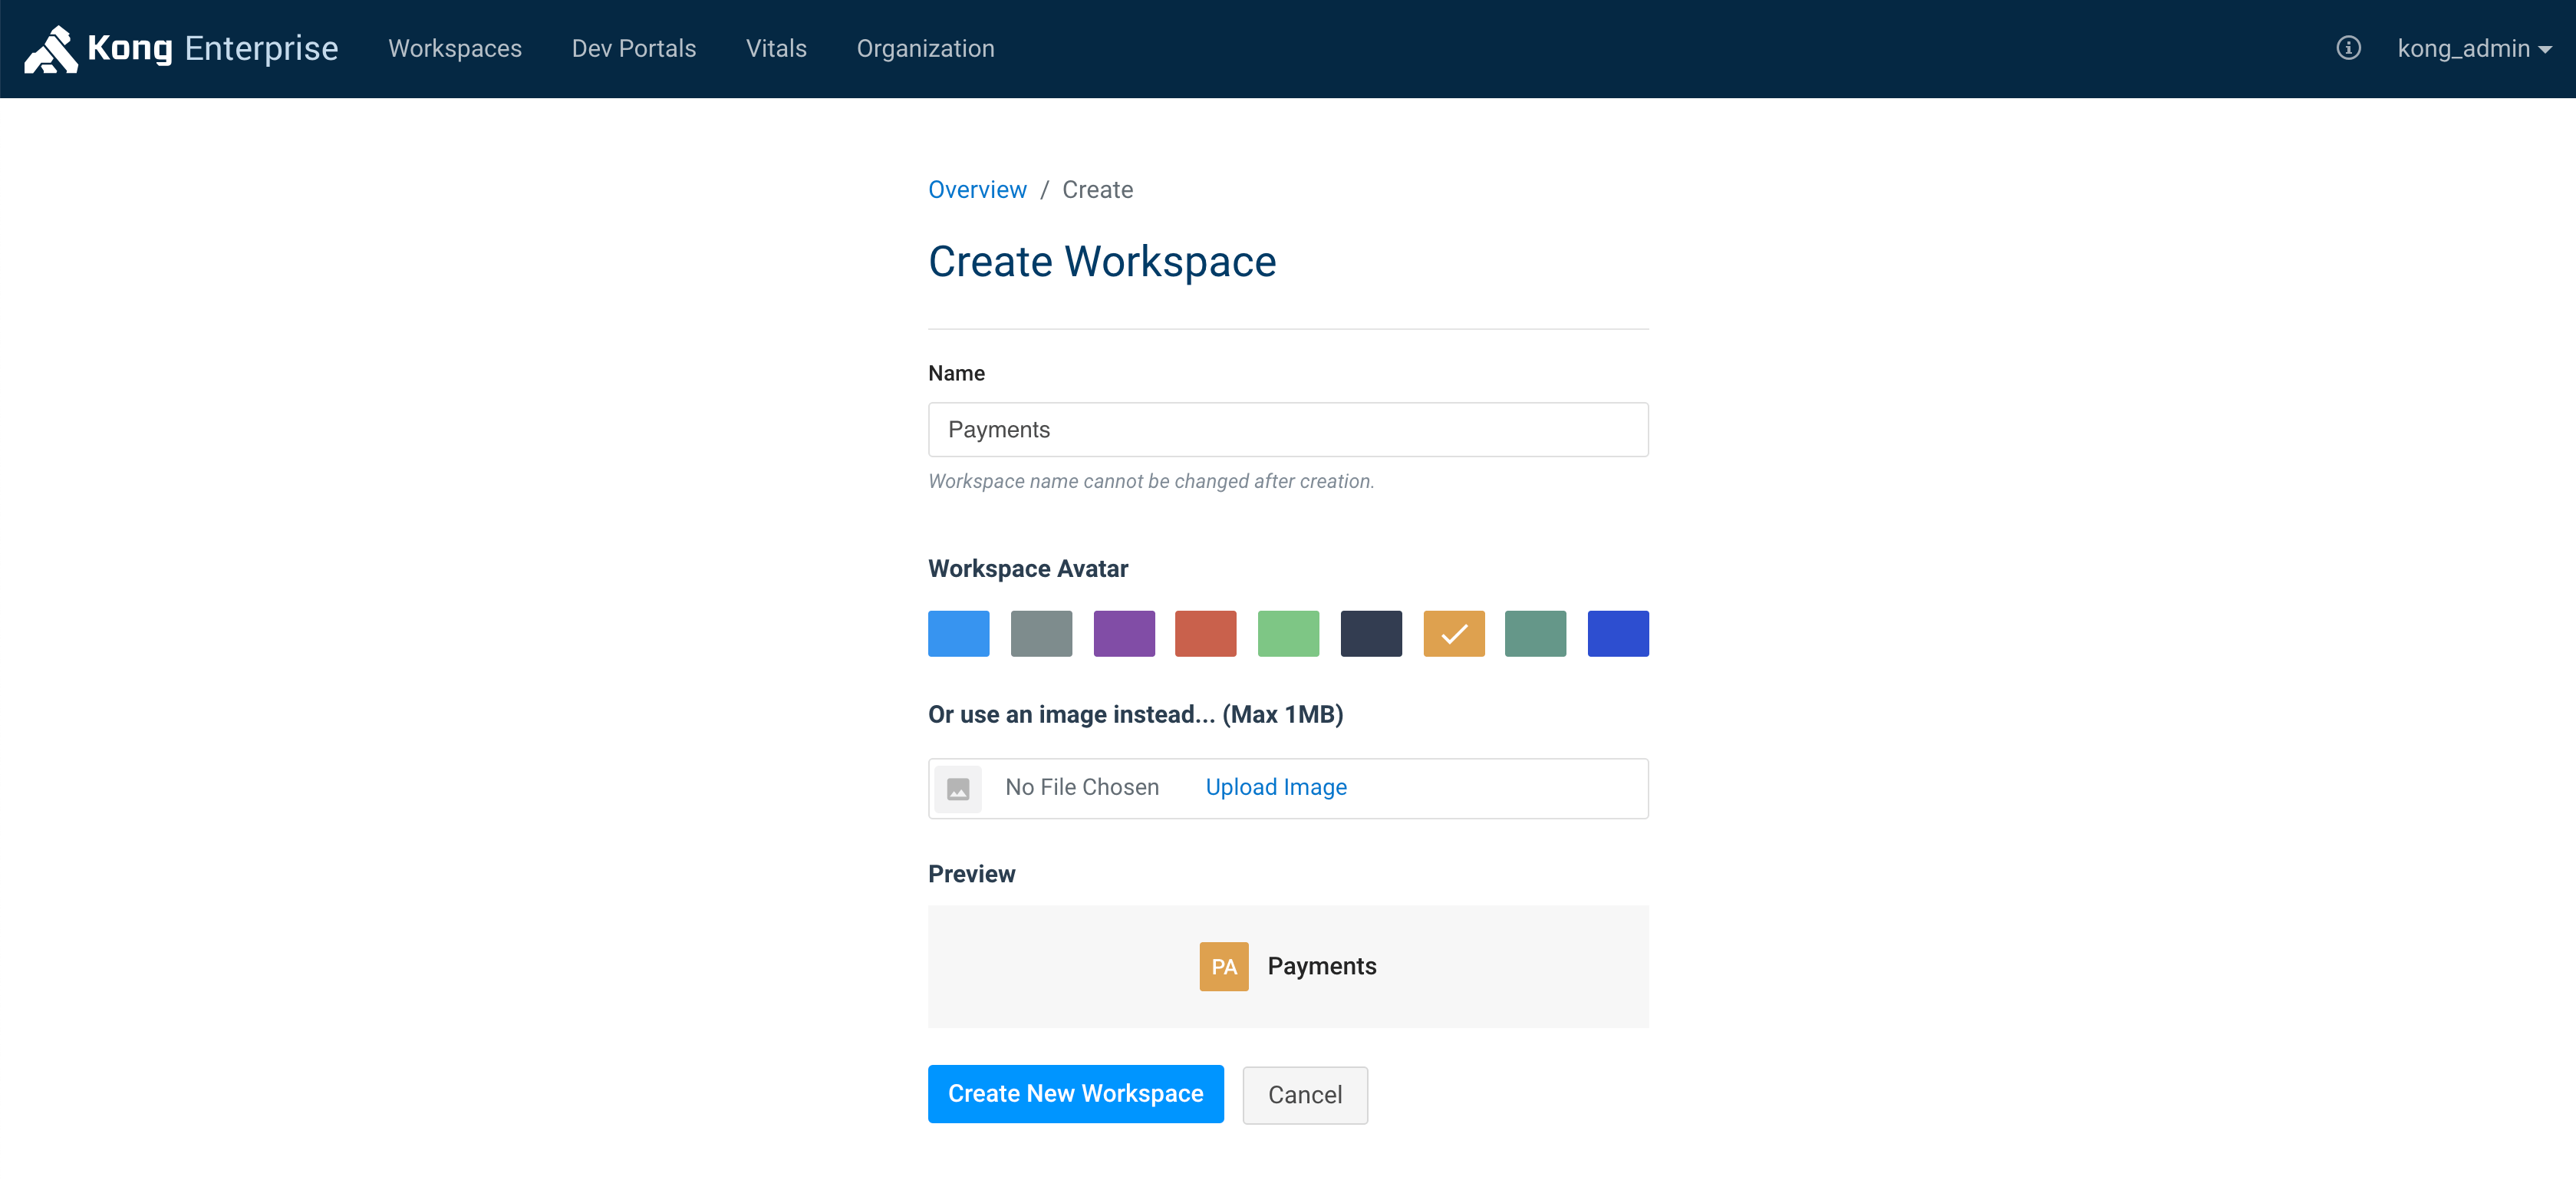
Name the new Workspace.
⚠️ WARNING: Each Workspace name should be unique, regardless of letter case. For example, naming one Workspace “Payments” and another one “payments” will create two different workspaces that look identical.
⚠️ WARNING: Do not name Workspaces the same as these major routes in Kong Manager:
• Admins • APIs • Certificates • Consumers • Plugins • Portal • Routes • Services • SNIs • Upstreams • Vitals -
Select a color or avatar to make each Workspace easier to distinguish, or accept the default color.
-
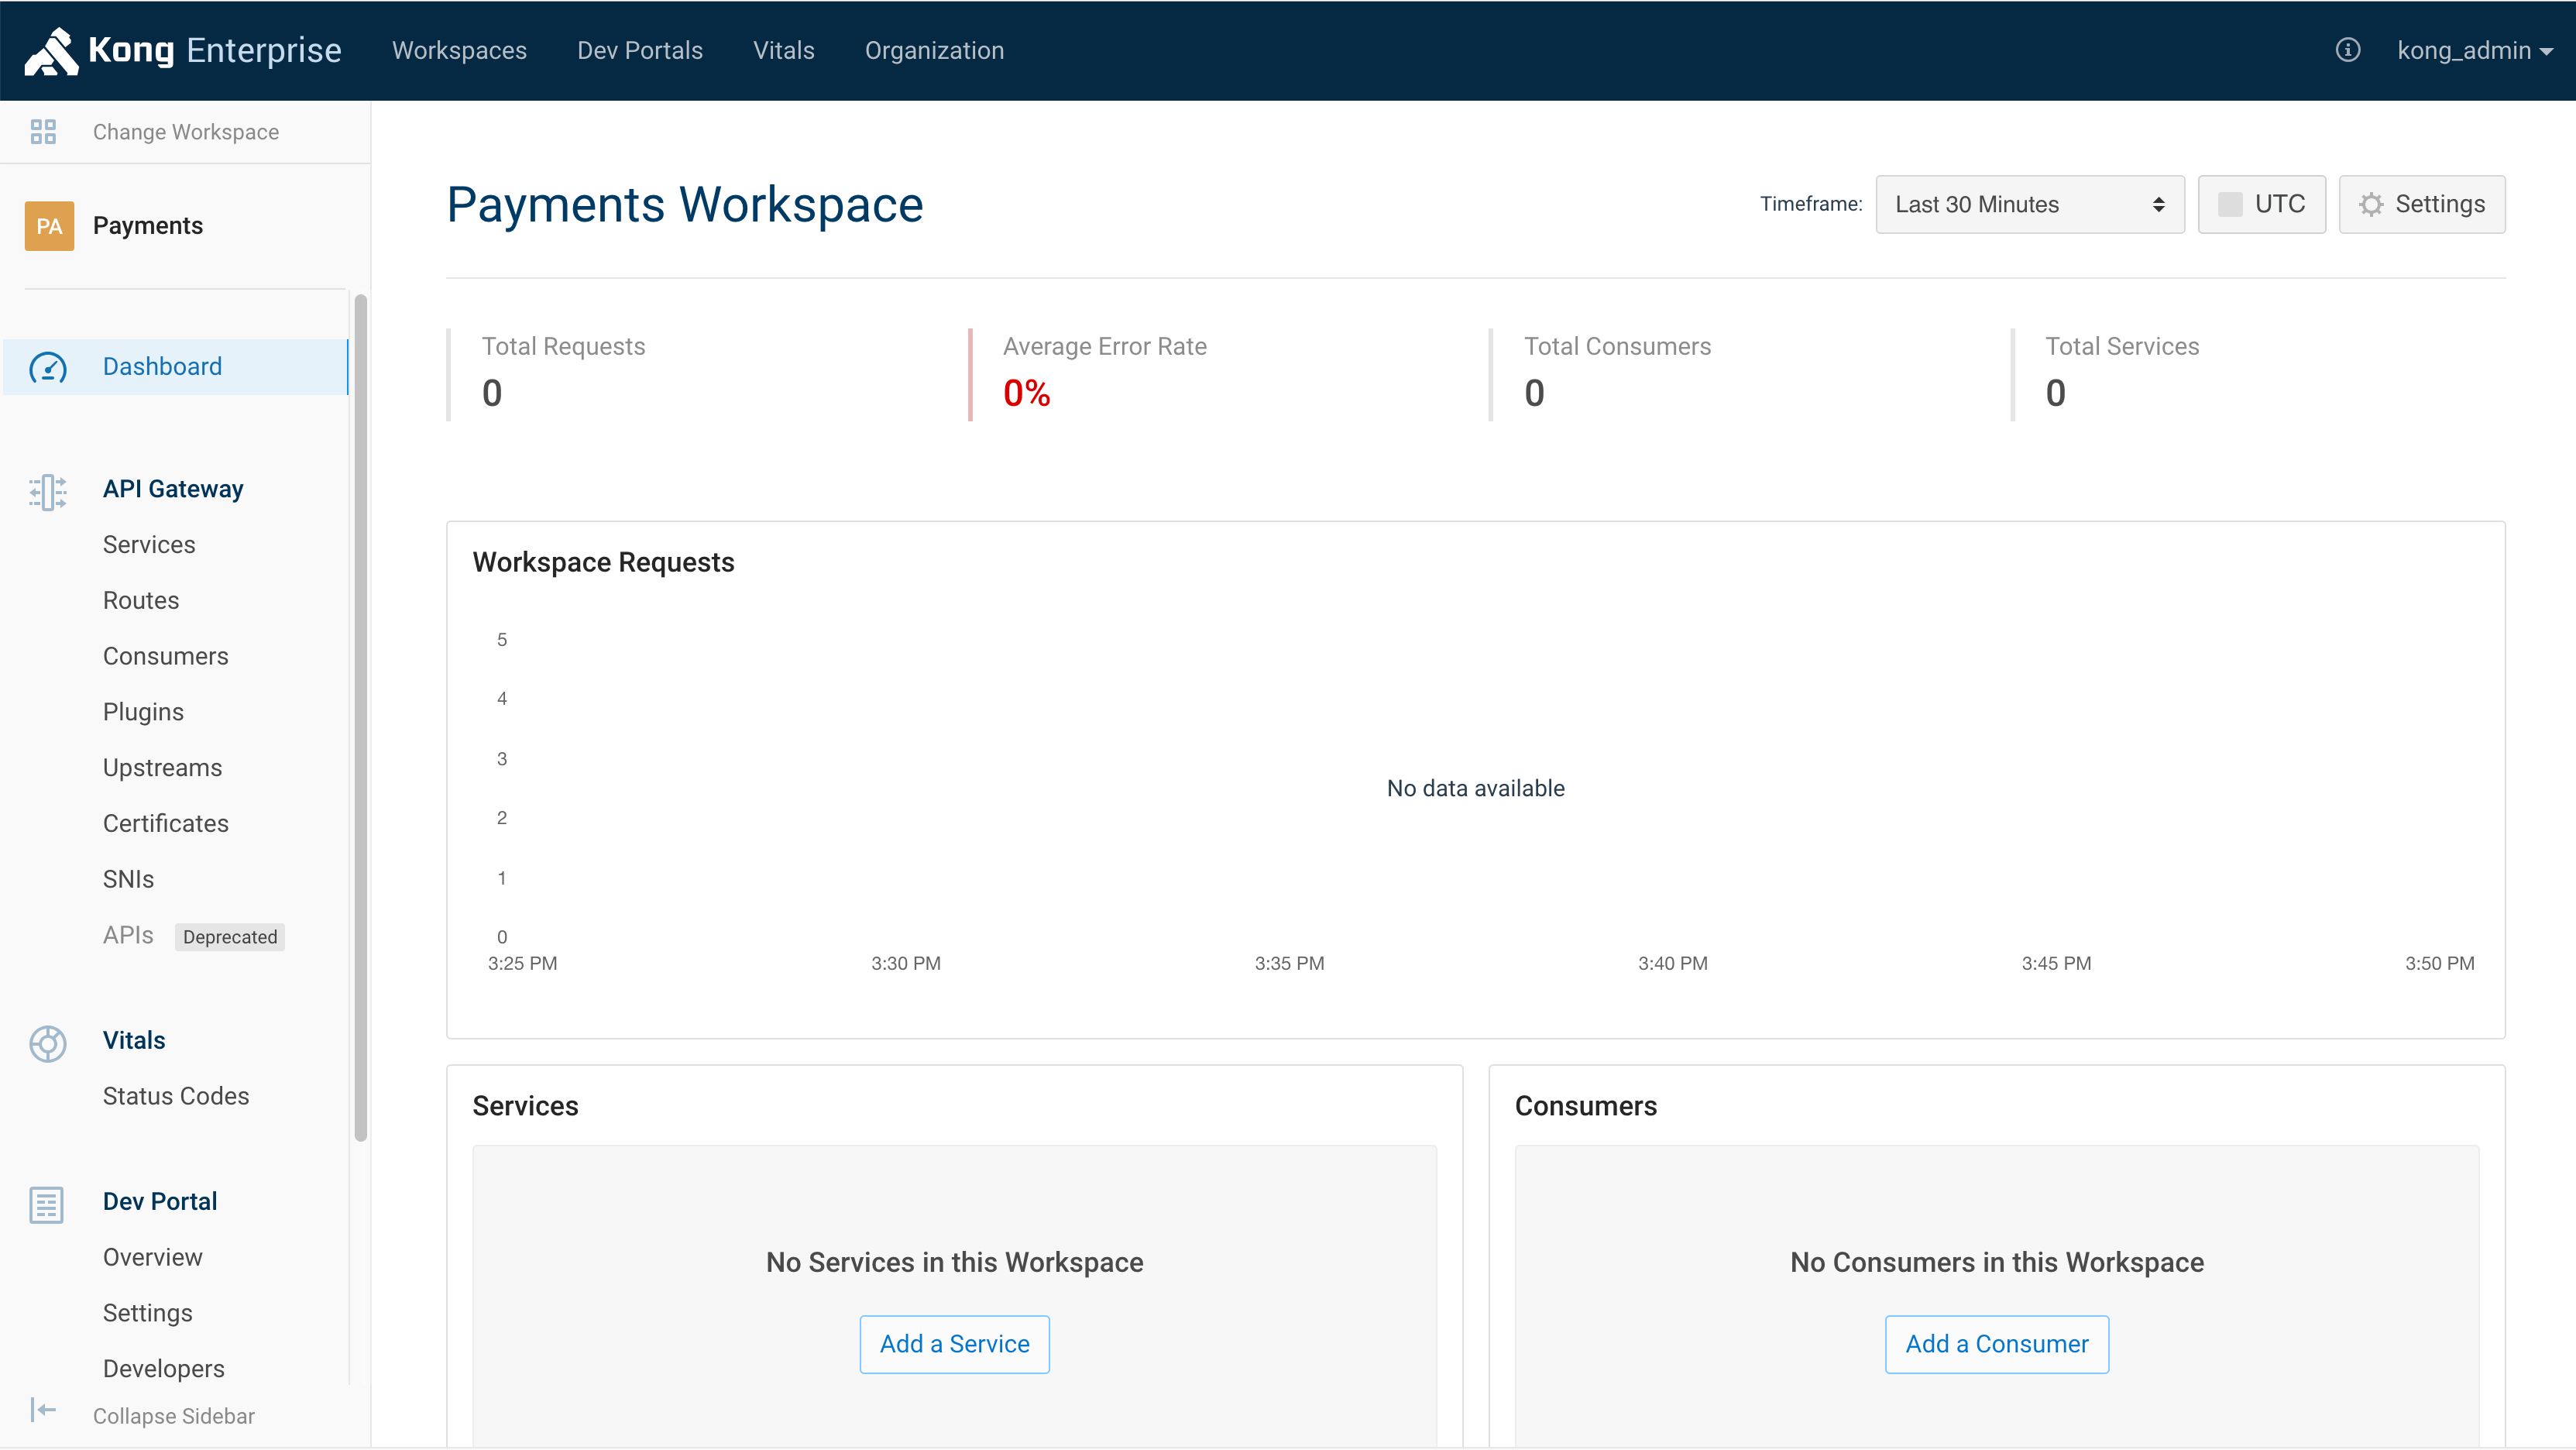
Click the “Create New Workspace” button. Upon creation, the application will navigate to the new Workspace’s “Dashboard” page.
-
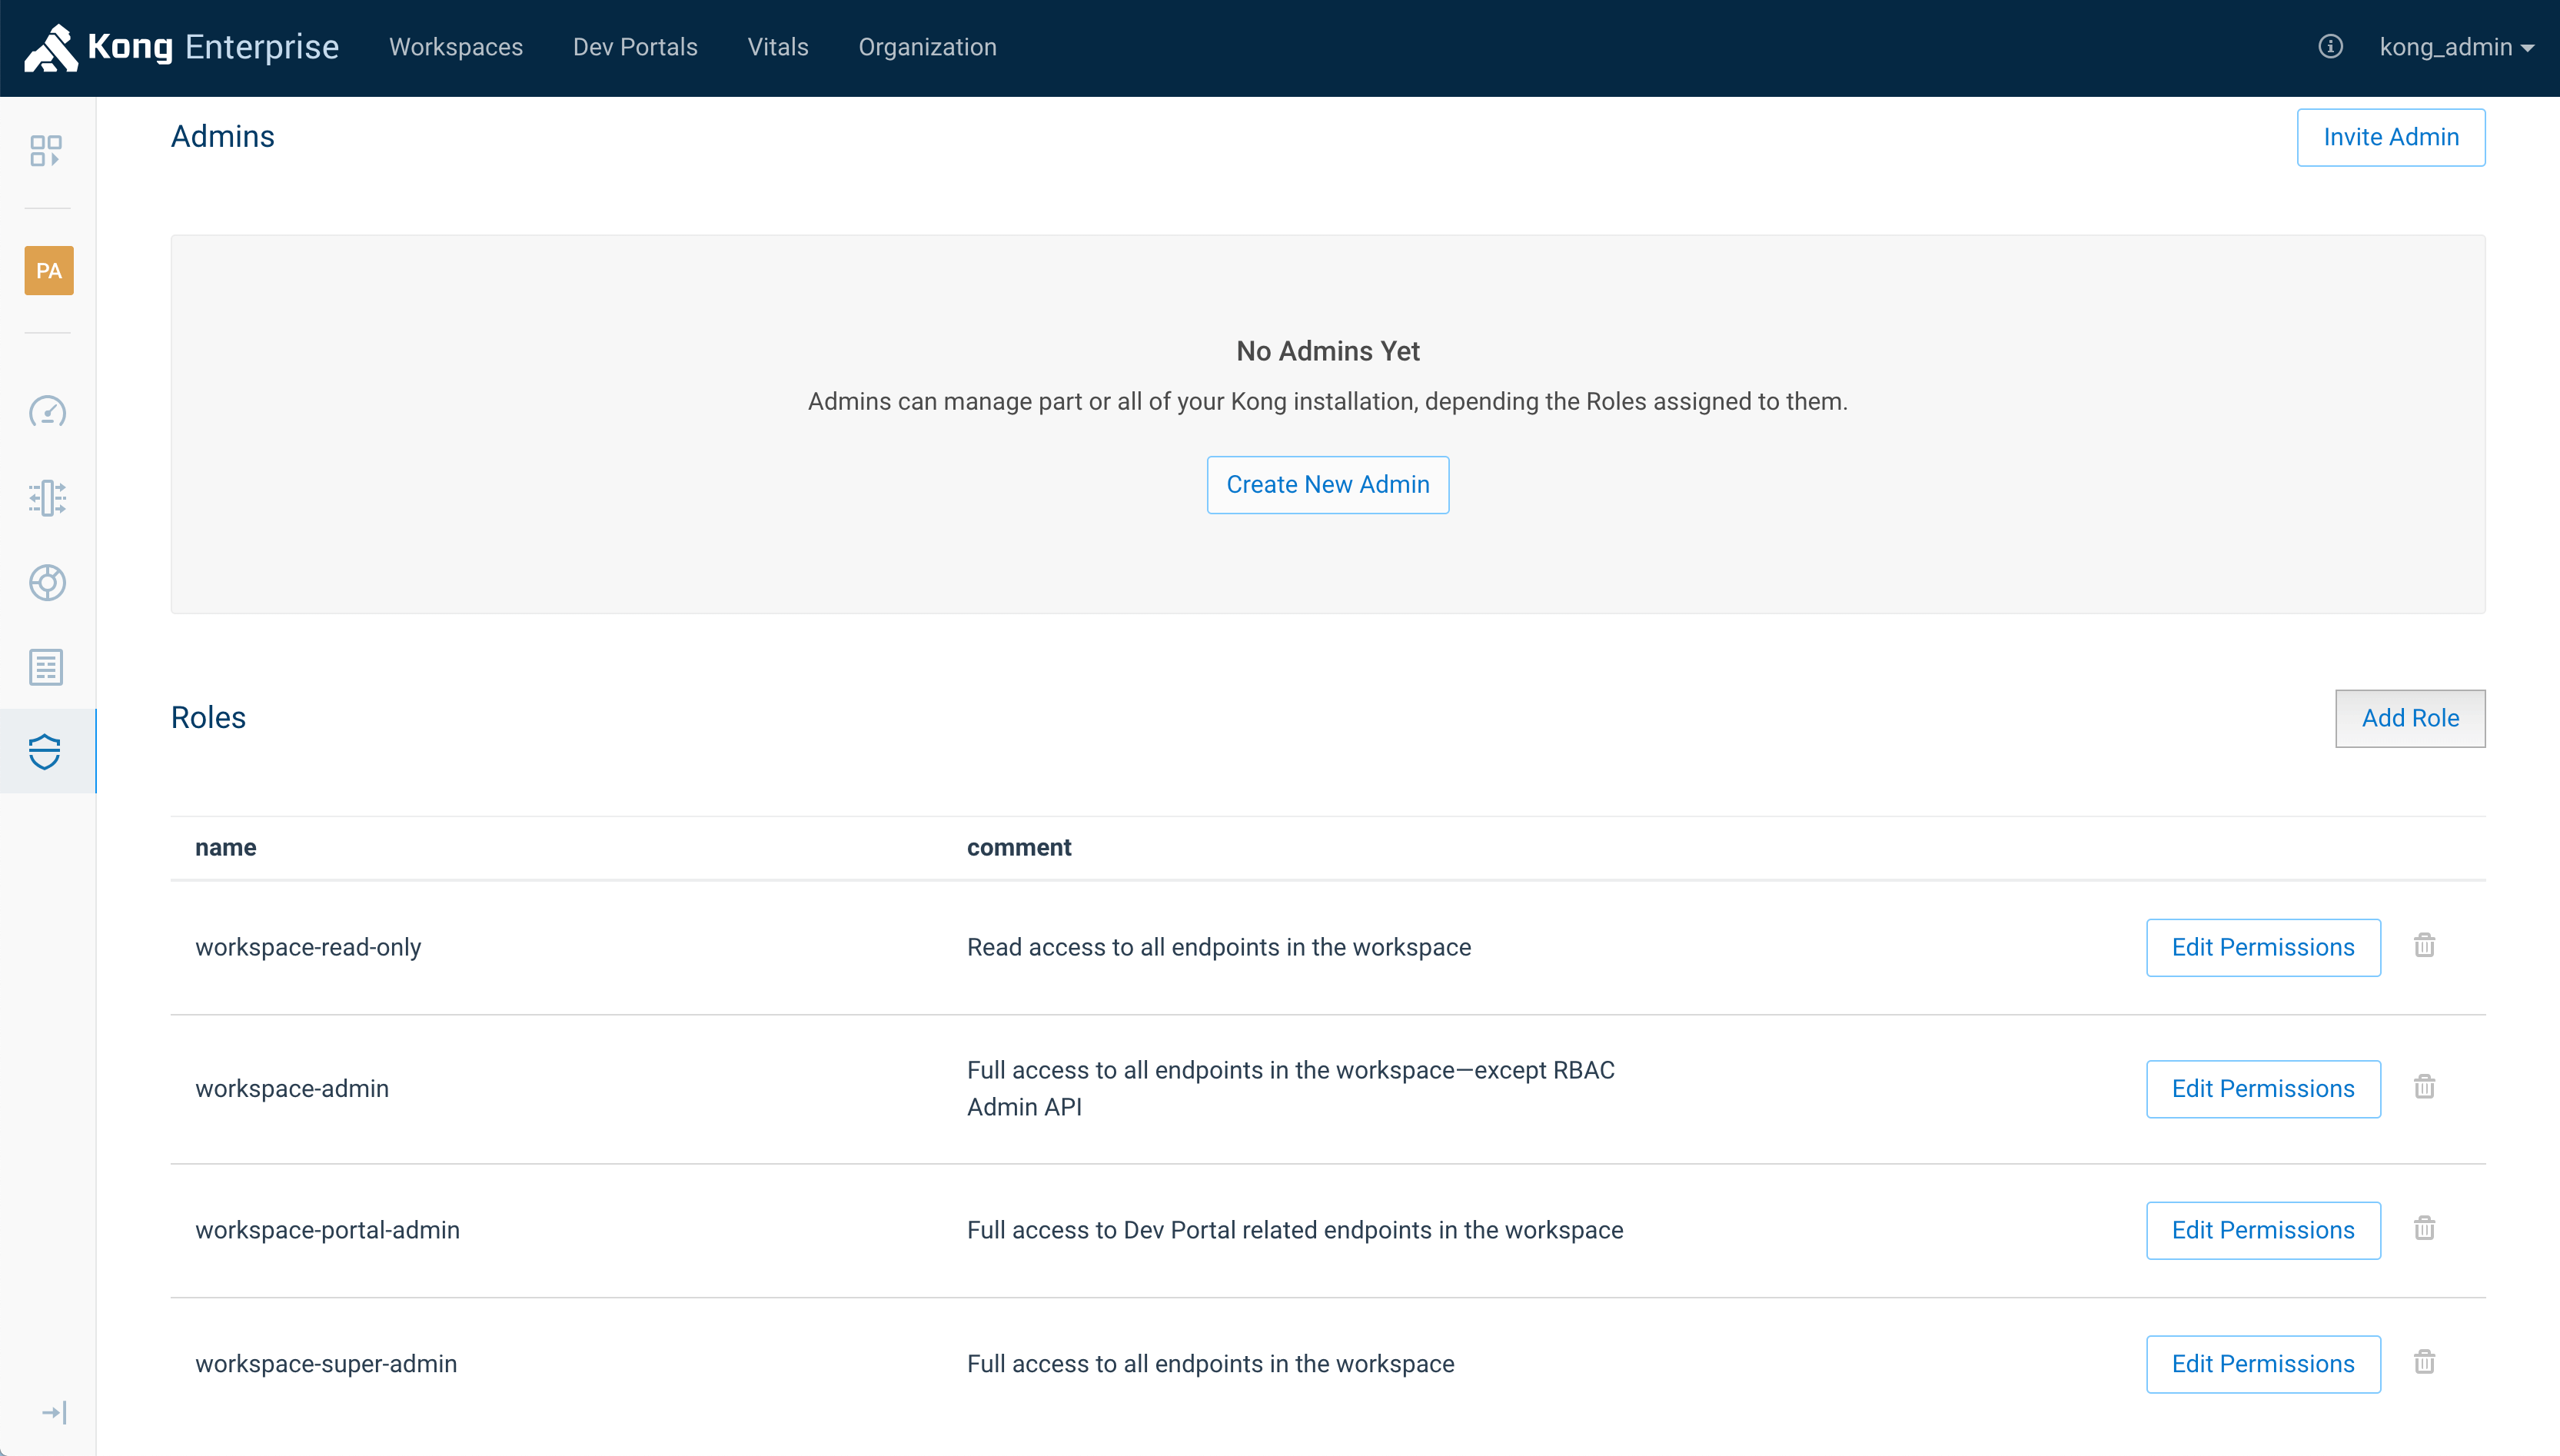
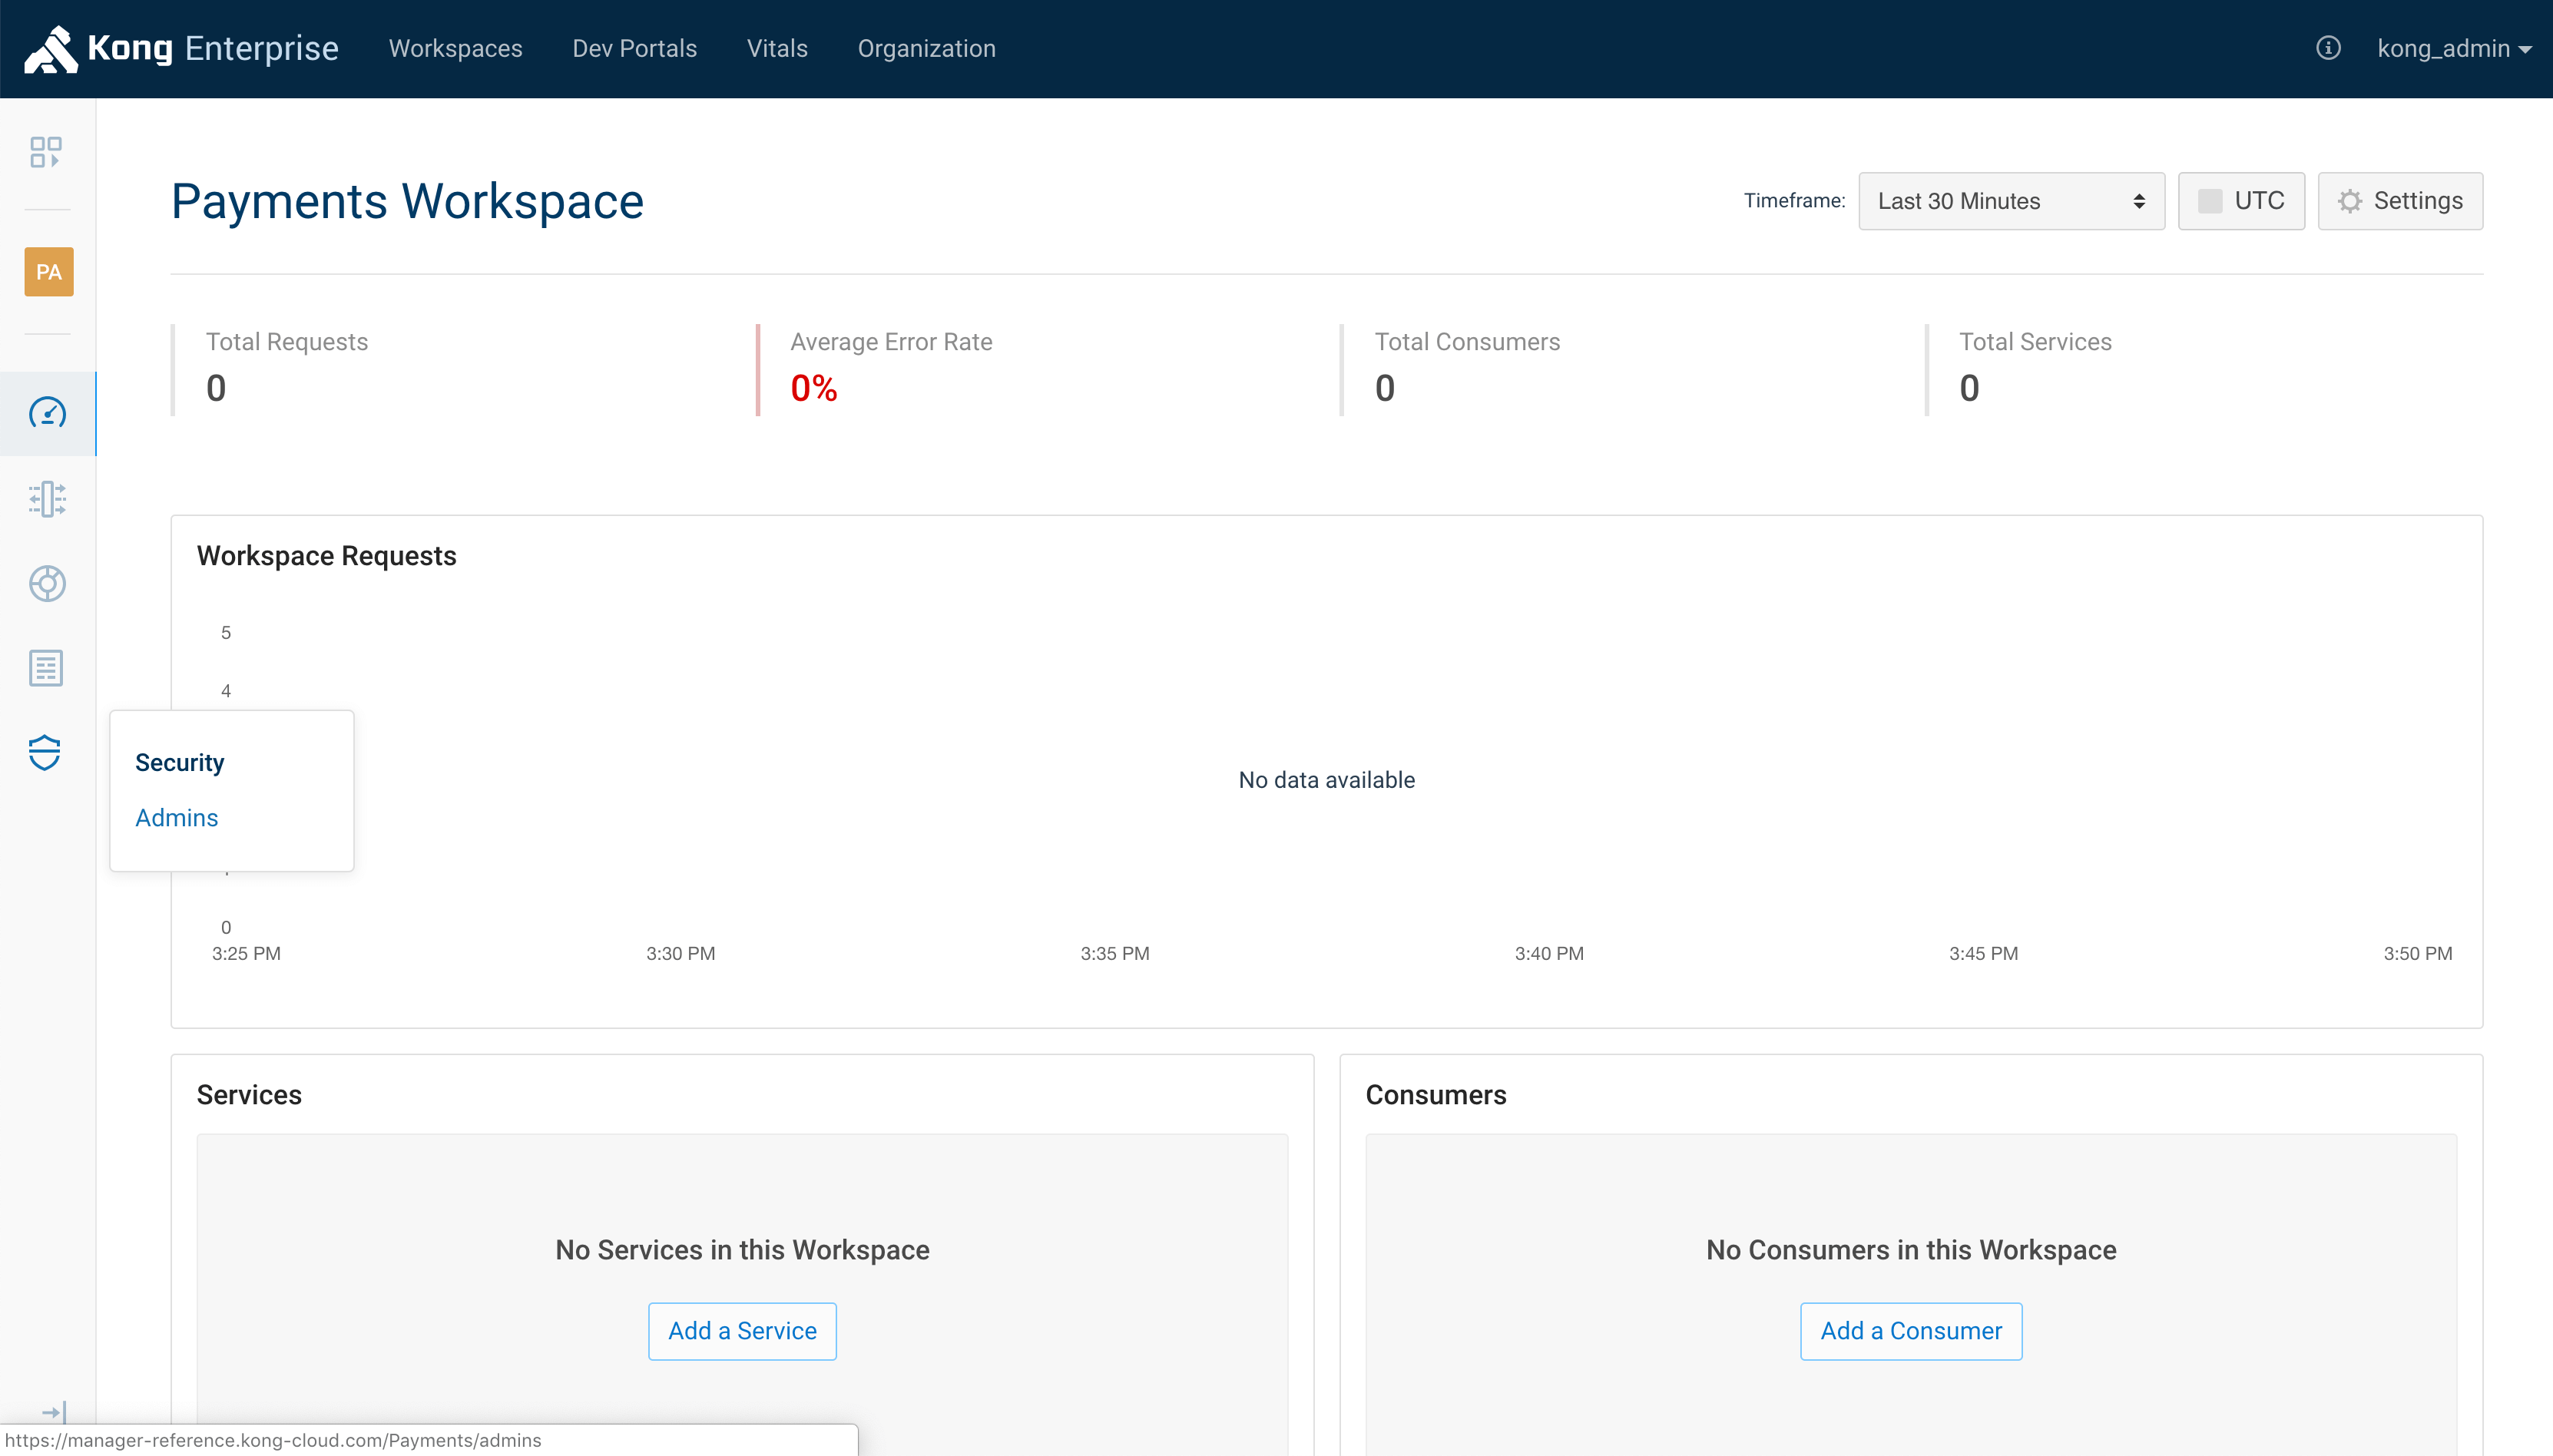
On the left sidebar, click the “Admins” link in the “Security” section. If the sidebar is collapsed, hover over the security badge icon at the bottom and click the “Admins” link.
-
The “Admins” page displays a list of current Admins and Roles. Four default Roles specific to the new Workspace are already visible, and new Roles specific to the Workspace can be assigned from this page.