Authenticating the Dev Portal
Supported Authentication Plugins
The Dev Portal supports the following authentication plugins:
Enable Authentication
To enable authentication for a Dev Portal, navigate to the settings page for
that Dev Portal in the Kong Manager and select one of the authentcation
plugins from the drop down list. Upon save the Dev Portal will refresh and use
the newly supplised authentication plugin.
The Dev Portal config can also be patched directly:
curl -X PATCH http://localhost:8001/workspaces/<WORKSPACE NAME> \
  --data "config.portal_auth=basic-auth"
Set a default authentication plugin
A default authentication plugin can be set in the Kong Configuration file under
portal_auth. When this variable is set, all Dev Portals will use this
authentication plugin unless that Dev Portal’s setting are manually overridden.
Developer Registration
Developers are now able to request access to the Dev Portal via the
unauthenticated/register partial. Any <input /> field inside this partial
will be submitted to the http://127.0.0.1:8000/_kong/portal/register endpoint
and a Developer credential is created upon registration. The Developer will not
be able to use this credential until they are approved. See
Approving Developers.
Required Registration fields by Authentication plugin:
-
Basic Authentication:
<input type="text" name="email" required /> <input type="password" name="password" required /> -
Key Authentication:
<input type="text" name="email" required /> <input type="text" name="key" required /> -
Open-ID Connect:
<input type="text" name="email" required />Note: All plugins require the email input since Developers will register and be unique by email.
Collecting More Data on Registration
Additional information can be stored for the Developer inside the meta data
attribute. This field is stored in the Kong datastore on the Developer entity
and will be visible to Kong Admins.
The default Dev Portal theme demonstrates this through the “full_name” input:
<input type="text" name="full_name" required />
This can be customized to gather more information information (e.g. “referral source”, “phone-number”, “company”, “team” etc.) Meta tags are stored in plain text, so be careful not to store sensitive information in meta.
Example configurations
Basic Authentication
Check out the section “Enabling Authentication” for a step by step guide on setting up Basic Authentication.
Key Authentication
The Key Authentication Plugin allows developers to use API keys to authenticate requests, and can be used to authenticate the Dev Portal. Developers will be able to login with a single API key, rather than a username/password.
In the Dev Portal’s settings in Kong Manager select Key Auth from the
Authentication Plugin dropdown, or run the following cURL command:
curl -X PATCH http://localhost:8001/workspaces/<WORKSPACE NAME> \
  --data "config.portal_auth=key-auth"
Open-ID Connect Plugin
The OpenID Connect Plugin allows the Dev Portal to hook into existing authentication setups using third-party Identity Providers (IdP) such as Google, Yahoo, Microsoft Azure AD, etc.
OIDC must be used with
the session method, utilizing cookies for Dev Portal File API requests.
In the Dev Portal’s settings in Kong Manager select Open ID Connect from the
Authentication Plugin dropdown, or run the following cURL command:
curl -X PATCH http://localhost:8001/workspaces/<WORKSPACE NAME> \
  --data "config.portal_auth=openid-connect"
Add the openid-connect configuration to plugin config JSON field using valid
JSON.
Here is an example configuration:
portal_auth_conf = {                                               \
  "issuer": "https://accounts.google.com/",                        \
  "client_id": "<ENTER_YOUR_CLIENT_ID_HERE>",                      \
  "client_secret": "<ENTER_YOUR_CLIENT_SECRET_HERE>",              \
  "consumer_by": "username,custom_id,id",                          \
  "ssl_verify": "false",                                           \
  "consumer_claim": "email",                                       \
  "leeway": "1000",                                                \
  "login_action": "redirect",                                      \
  "login_redirect_mode": "query",                                  \
  "login_redirect_uri": "http://127.0.0.1:8003",                   \
  "forbidden_redirect_uri": "http://127.0.0.1:8003/unauthorized",  \
  "logout_methods": "GET",                                         \
  "logout_query_arg": "logout",                                    \
  "logout_redirect_uri": "http://127.0.0.1:8003",                  \
  "scopes": "openid,profile,email,offline_access"                  \
}
The values above can be replaced with their corresponding values for a custom OIDC configuration:
<ENTER_YOUR_CLIENT_ID_HERE>- Client ID provided by IdP * For Example, Google credentials can be found here: https://console.cloud.google.com/projectselector/apis/credentials<ENTER_YOUR_CLIENT_SECRET_HERE>- Client secret provided by IdP
By default the Example Dev Portal comes with a “Sign in with Google” button, but
this can be overriden in the unauthenticated/login partial. See
Customize Your Login Form
Browse to the login page (see section Logging In). Click
“Sign in with Google” which will take you to the Google login page. Once logged
in, Google will redirect you back to the Example Dev Portal and all requests
going forward will have the associated authentication session cookie. The
Default Dev Portal and the OIDC configuration above will provide an id_token
which will be used to display a Developer’s avatar.
Logging In
Ensure you are logged out (see section Logging Out). Visit an
authenticated page on the Dev Portal. You should see a login form, which is
rendered from the unauthenticated/login partial.
When a Developer submits an HTML form with an attribute id="login" the Dev
Portal will make a request against the Dev Portal File API using the specified
portal_auth with the data in the form. For instance, if you have basic-auth
enabled, then the form will submit with the Authorization header e.g.
Authorization: Basic dXNlcm5hbWU6cGFzc3dvcmQ=. If the Login returns a
response with a status code that is not 200, then it runs onLoginError.
Customize Your Login Form
The Example Dev Portal provides the partials/unauthenticated/login.hbs file
and is required to exist in order for authentication functionality to work.
This partial is rendered when a developer attempts to access a page they do not
have access to. You can customize this page’s styles or add/update any marketing
copy, but the <input /> elements are required when using
Basic Authentication or
Key Authentication.
Logging Out 👋🏻
Any element with id="logout" on click will clear the Local Storage
authentication data, for example:
<button id="logout">Logout</button>
Note: When using
openid-connect, developers will be redirected to<PORTAL_API_URI>?logout=true, clearing the session cookie. This config should be set inside the openid-connect plugin configuration insideportal_auth_conf. See the section on configuring the Open-ID Connect Plugin
How To: Understanding Dev Portal Routing & Authentication

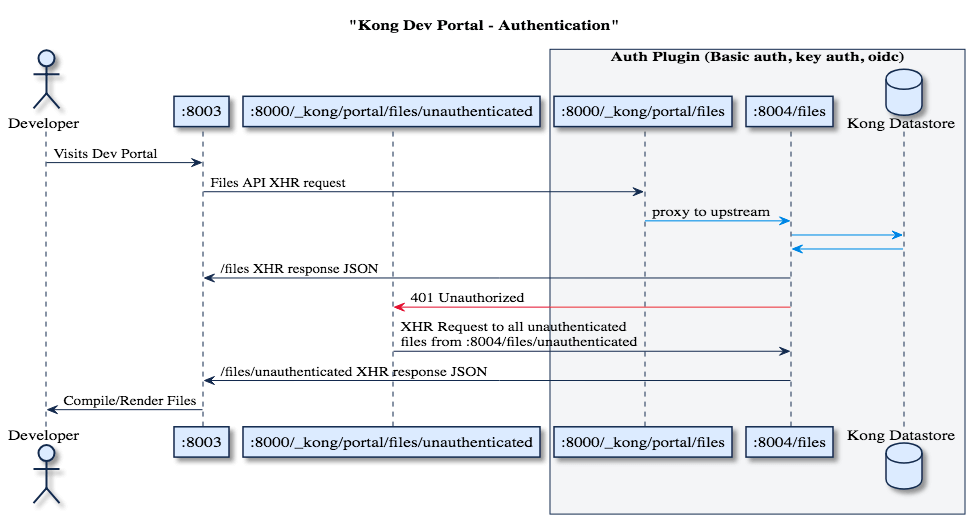
The Dev Portal router runs through a series of steps to determine which files to serve based on the user’s authentication status. Let’s explore how the Dev Portal router handles authentication by playing with an instance of the Example Dev Portal.
Before we start, check that you:
- Have an instance of the Example Dev Portal running (see Getting Started)
- Authentication is enabled and configured (see Authentication > Getting Started)
Lets first create two test pages that will simply illustrate whether we are viewing an authenticated or unauthenticated page.
pages/test.hbs- Create a file named
pages/test.hbsand open it in your favorite text editor. -
Insert the code below into the file and save:
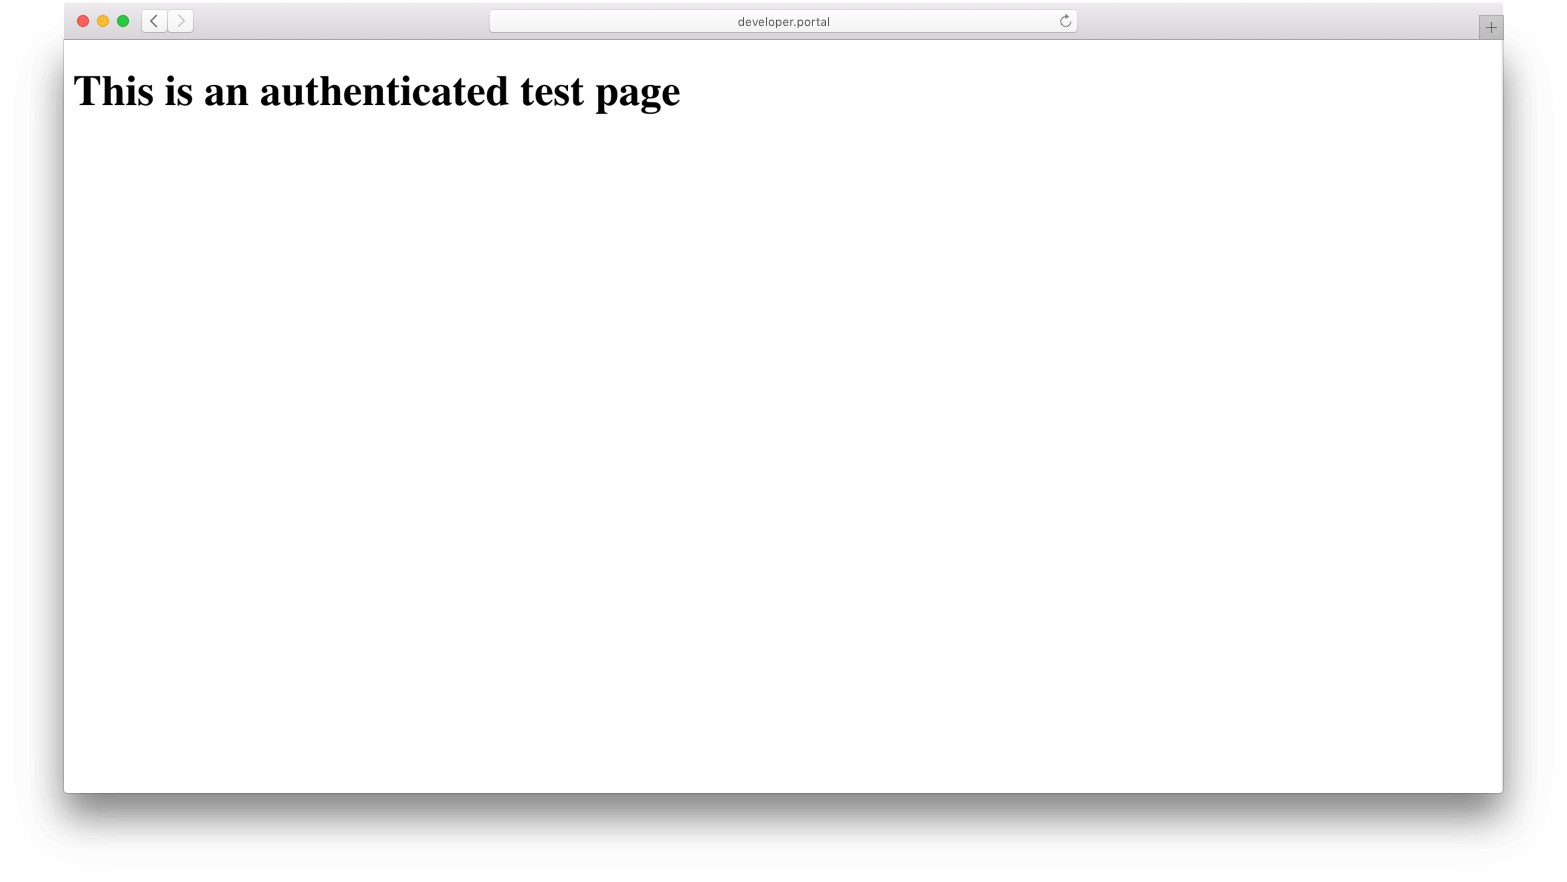
<h1>This is an authenticated test page</h1> -
Upload
pages/test.hbsto the Dev Portal File API in theKong Manageror with the following command:curl -X POST http://127.0.0.1:8001/files \ -F "name=test" \ -F "type=page" \ -F "contents=@pages/test.hbs" \ -F "auth=true" - Navigate to
:8003/default/testand ensure that the browser looks like this:

- Create a file named
pages/unauthenticated/test.hbs- Create a file named
pages/unauthenticated/test.hbsand open it in your favorite text editor. -
Insert the code below into the file and save:
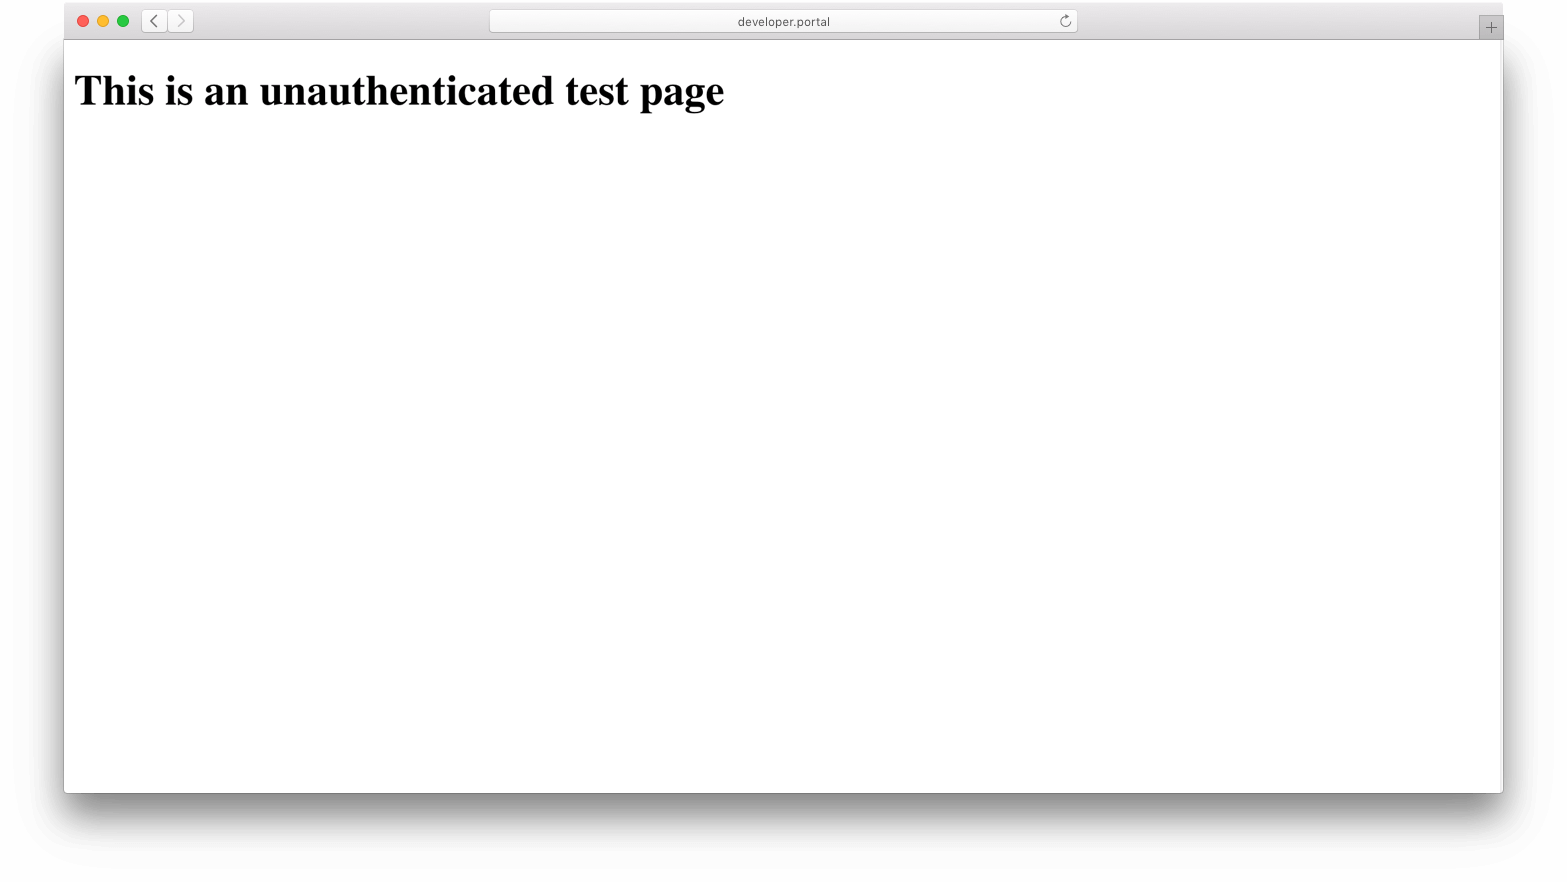
<h1>This is an unauthenticated test page</h1> -
Upload
pages/unauthenticated/test.hbsto the Dev Portal File API in theKong Manageror with the following command:curl -X POST http://127.0.0.1:8001/files \ -F "name=unauthenticated/test" \ -F "type=page" \ -F "contents=@pages/unauthenticated/test.hbs" \ -F "auth=false" - Navigate to
:8003/unauthenticatedtest and ensure that the browser looks like this:

- Create a file named
Now that we have created our two test pages, let’s take a look at how the Dev Portal deals with authenticated/unauthenticated routes.
Authenticated Flow:
- If you are not already, login to the Example Dev Portal (see section Logging In).
- Navigate to :8003/test in your browser,
you should see a header stating “This is an authenticated test page”.
- The Dev Portal went through the following flow:
- Search for a page named test There is!
- Check to ensure that you have authorization to access the page. You do!
- Serve test page to the browser.
- The Dev Portal went through the following flow:
Note: You can still access the unauthenticated test page by navigating to :8003/unauthenticated/test in the browser.
Unauthenticated Flow:
- If you have not already, log out of the Dev Portal (see section Logging Out).
- Navigate to :8003/test in your browser, you should see text stating “This is an unauthenticated test page”.
- Notice that although the path /test requests
test.hbs(our authenticated page), we are servedunauthenticated/test.hbs.- The Dev Portal went through the following flow:
- Parse the path
/testto determine we would like to serve a page named test. - Search for a page named test. There is!
- Ensure that you have authorization to access the page. You don’t. You are not currently logged in and the page requires authentication.
- Check to see if there is a page named unauthenticated/test. There is!
- Ensure that you have authorization to access the page. You do!
- Serve the unauthenticated/test page to the browser.
- Parse the path
- The Dev Portal went through the following flow:
Note: As illustrated by the above example, when a user requests a particular page to access that they are not authorized to view, the Dev Portal will check for the same filename under the ‘unauthenticated’ namespace to serve instead. For this reason the ‘unauthenticated’ namespace is reserved, and should be used explicitly for authentication
Note pt. 2: Requesting a page while unauthenticated that both requires auth, and does not have a corresponding page under the ‘unauthenticated’ namespace will result in a 404. You can test this by requesting pages like :8003/guides or :8003/about while unauthenticated.
JavaScript hooks
You can find these functions in the unauthenticated/auth-js partial in the
Example Dev Portal. They allow you to hook into the Dev Portal authentication
behavior through javascript functions.
onLoginError
Customize how your form submit will handle errors, as well as customize default error messages:
/*
 * When a user attempts to log in, but authentication fails.
 */
function onLoginError(error) {
  var resp = error.response
  var errorMessages = {
  // Note: Approved developers will not receive an error, so this is
  // here only for status type documentation purposes.
  // 0: {
  //  status: 'approved',
  //  message: ""
  // },
    1: {
      status: 'requested',
      message: "You have requested access, but your account is pending approval."
    },
    2: {
      status: 'rejected',
      message: "This account has been rejected."
    },
    3: {
      status: 'revoked',
      message: "This account has been revoked."
    }
  }

  /**
   *  Parse error response and utilize Kong function getMessageFromError helper
   */
  var errorMessage = errorMessages[resp.data.status]
                       && errorMessages[resp.data.status].message
                       || window.getMessageFromError(error)
  alert('Login failed. ' + errorMessage)
}

/*
 * When a user attempts to register, but registration fails.
 */
function onRegistrationError(error) {
  alert('Registration failed. ' + window.getMessageFromError(error))
}

/**
 * When a user registers successfully, you can customize
 * where they are redirected. By default, they are redirected
 * to the index route '/', PORTAL_GUI_URL
*/
function onRegistrationSuccess() {
  alert('Thank you for registering! Your request will be reviewed.')
  window.navigateToHome() // Navigates to PORTAL_GUI_URL
}
How Authentication is Stored in Local Storage
The Dev Portal uses the
Local Storage API
to store and retrieve Authentication credentials, parameters, and headers.
Local Storage is saved on every successful login, and it is retrieved on every
Dev Portal File API request based the auth-store-types value, until you
logout.
IMPORTANT: Local Storage Authentication credentials are stored in the browser via base64-encoding, but are not encrypted. Any javascript executed on the same domain as your Dev Portal can access these values so it advised that you always used SSL/TLS and either use openid-connect to secure your Dev Portal (as it uses javascript inaccessible HTTP-only encrypted cookies), or limit the amount of third-party javascript injected on your Dev Portal to prevent XSS vulnerabilities.
Note: Openid-connect uses cookies to persist authentication, and therefore does not use Local Storage.

